

How To Create A Gif Illustrator
Create an Animated GIF Using Adobe Illustrator + Photoshop
- by
- in Tutorials
- posted September 19, 2019
In this tutorial, you will create an animated GIF using Adobe Illustrator (Ai) and Adobe Photoshop (Ps). Before you begin, you will sketch a simple design/graphic of your choice using graph paper. It is encouraged that you create a rough sketch of a quick storyboard to plan out your animation. Once you've completed your storyboard, take a photo or scan your graphic and place it into Adobe Illustrator. Once you've placed your sketch into Ai, use your basic shapes, pen tool, effects, and panels to complete and enhance your illustration. You will then copy and paste your assets from Ai to Ps and create a timeline animation using Ps.
*This tutorial is an overview of an in-class lesson.
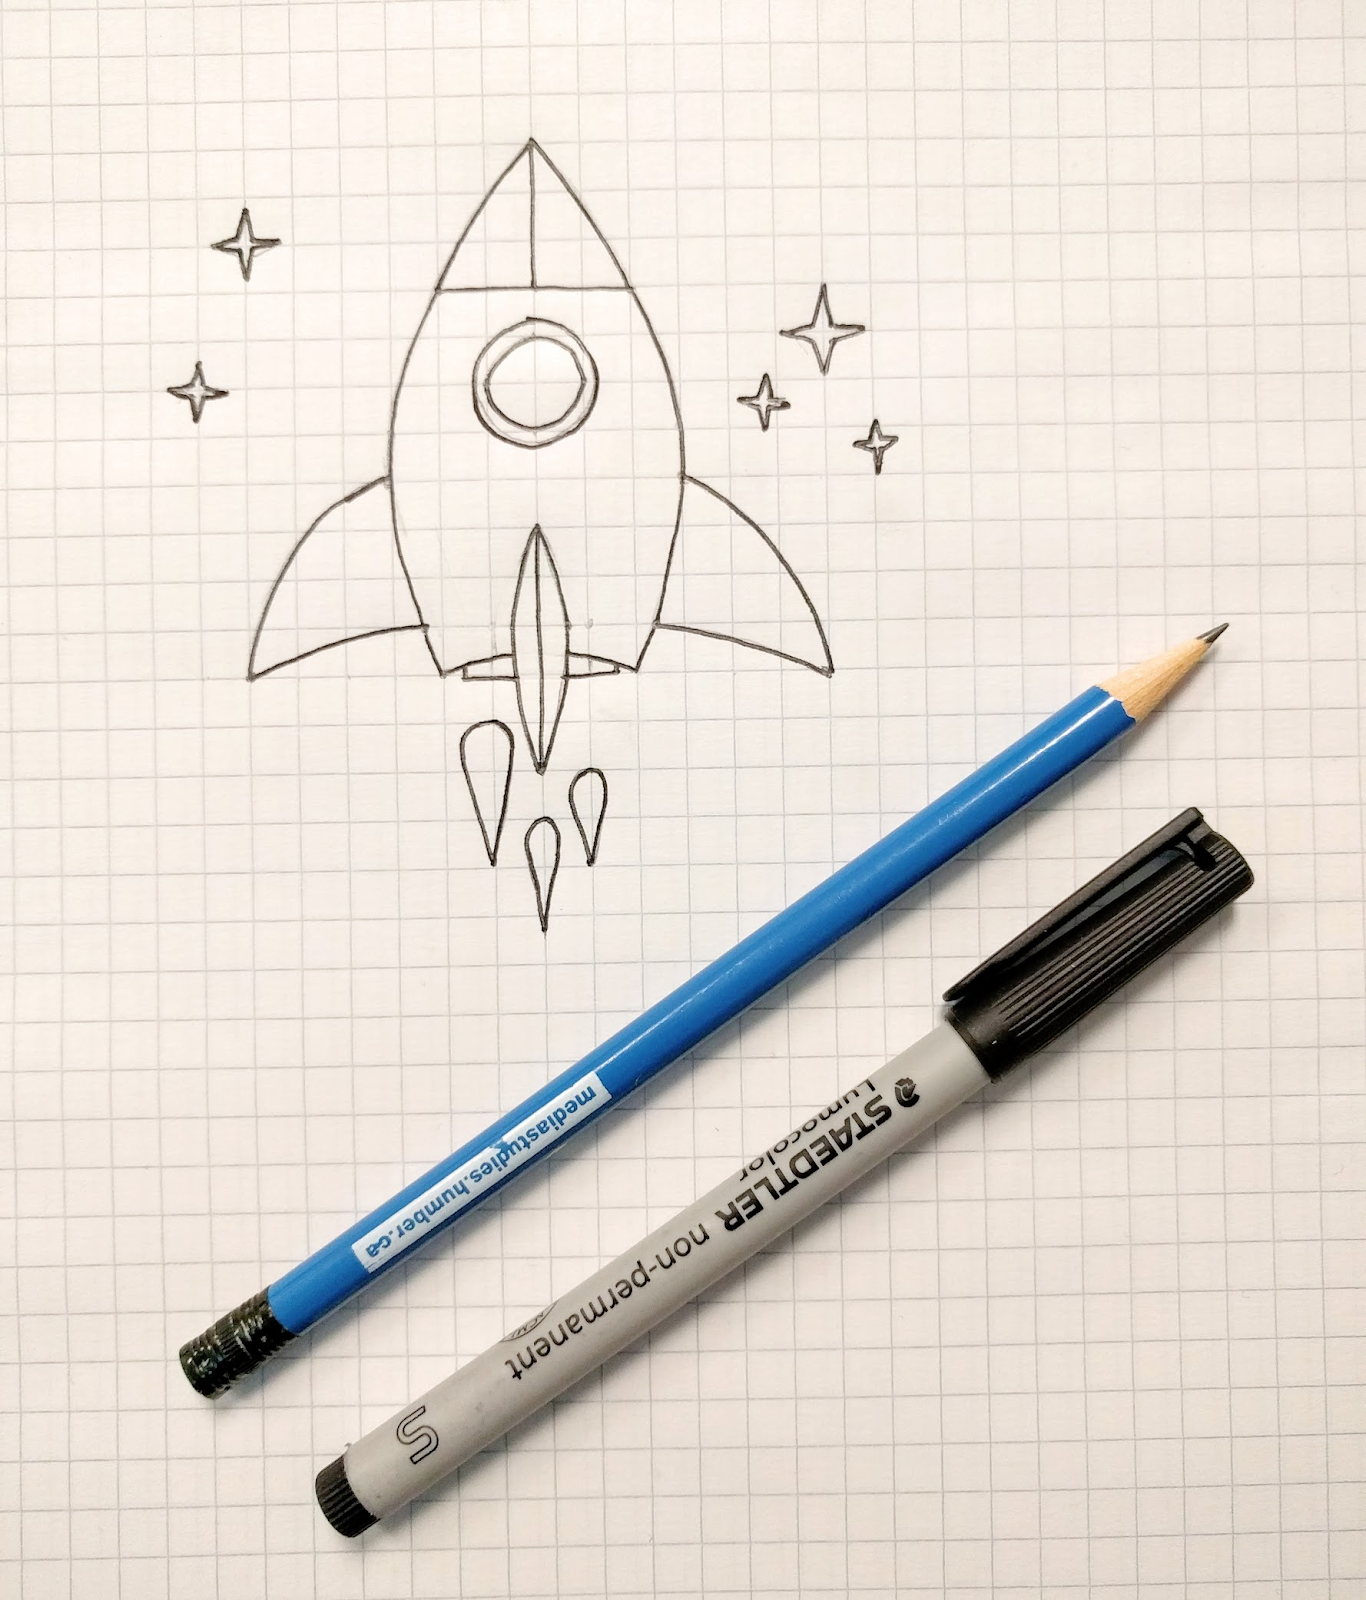
Materials: Pencil, Graph paper, Adobe Illustrator, Adobe Photoshop.
Requirements
All of the important elements of your illustration should be organized and labelled in your layer panel. Use simple shapes to start your illustration and then progress with complex ones. These elements could include and use:
- Rectangles, Rounded rectangles, Ellipses, Polygons, Stars.
- Line segments, arcs, swirls.
- Pen Tool, Shape builder, pathfinder, reflect/rotate.
- Effects, colour tools, symbols etc….
- Download Grid Paper
- Download Vector Rocket Image
Let's Begin!

Step 1 (Illustrator)
- Create a new document using Ai:
- 1000px by 1000px
- RGB
- 300ppi
Step 2
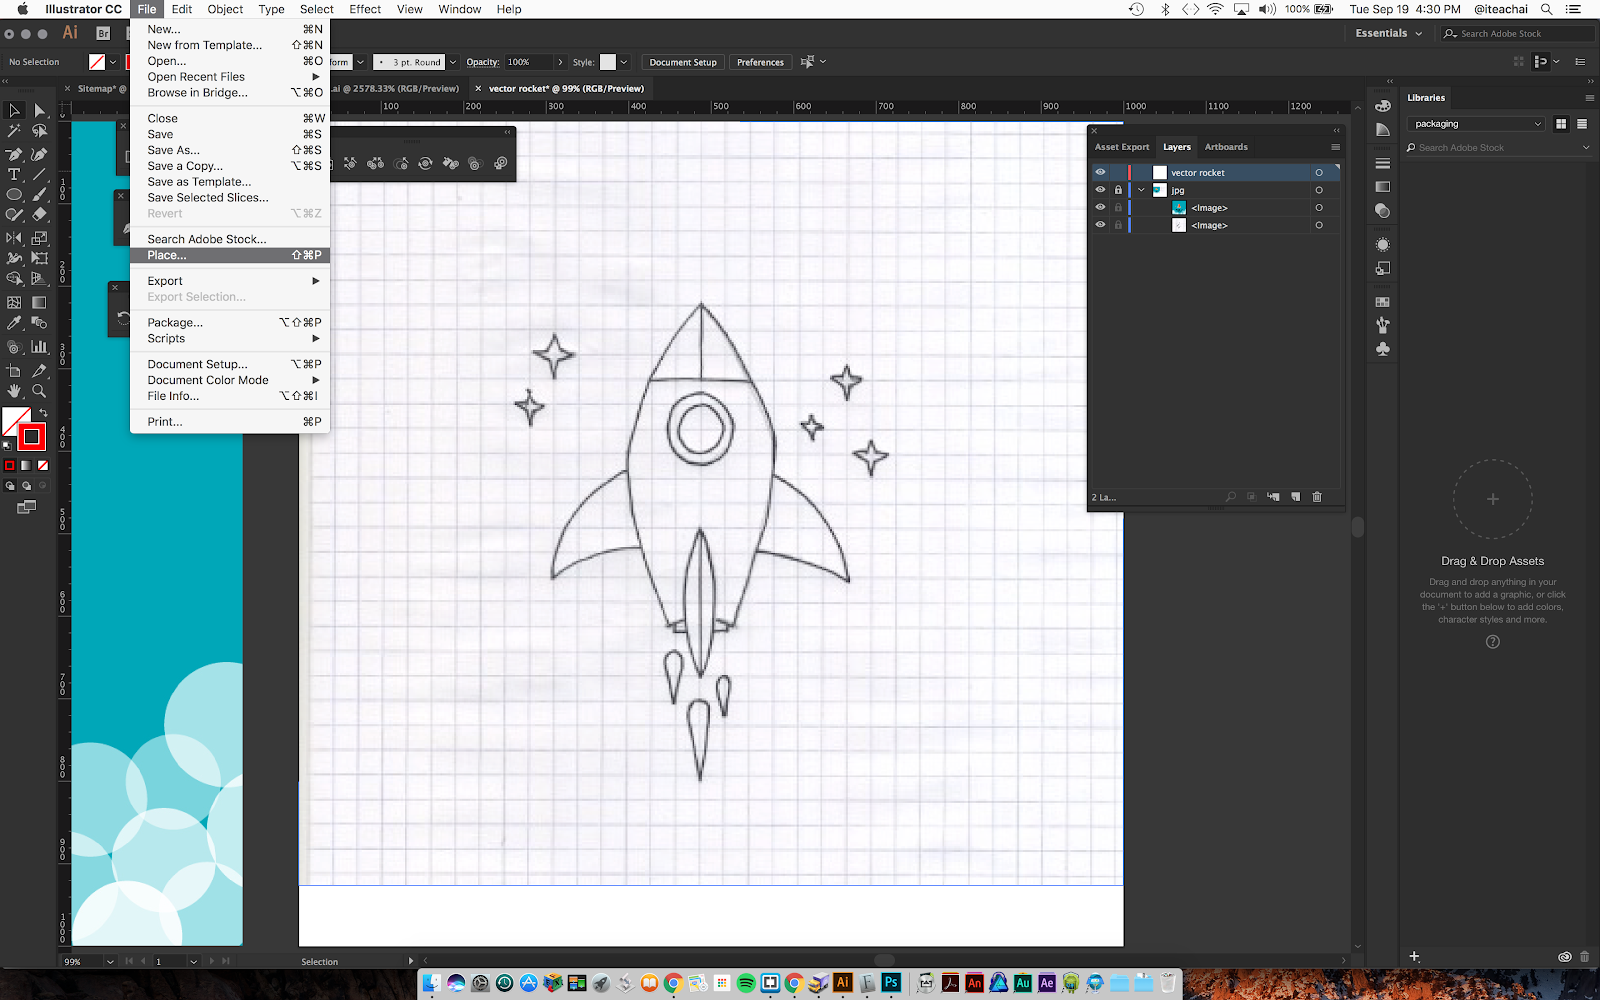
- Place your sketched photo/scan into Ai:
- File > Place
Step 3
- Lock, Label, and create all appropriate layers for your illustration.
Step 4
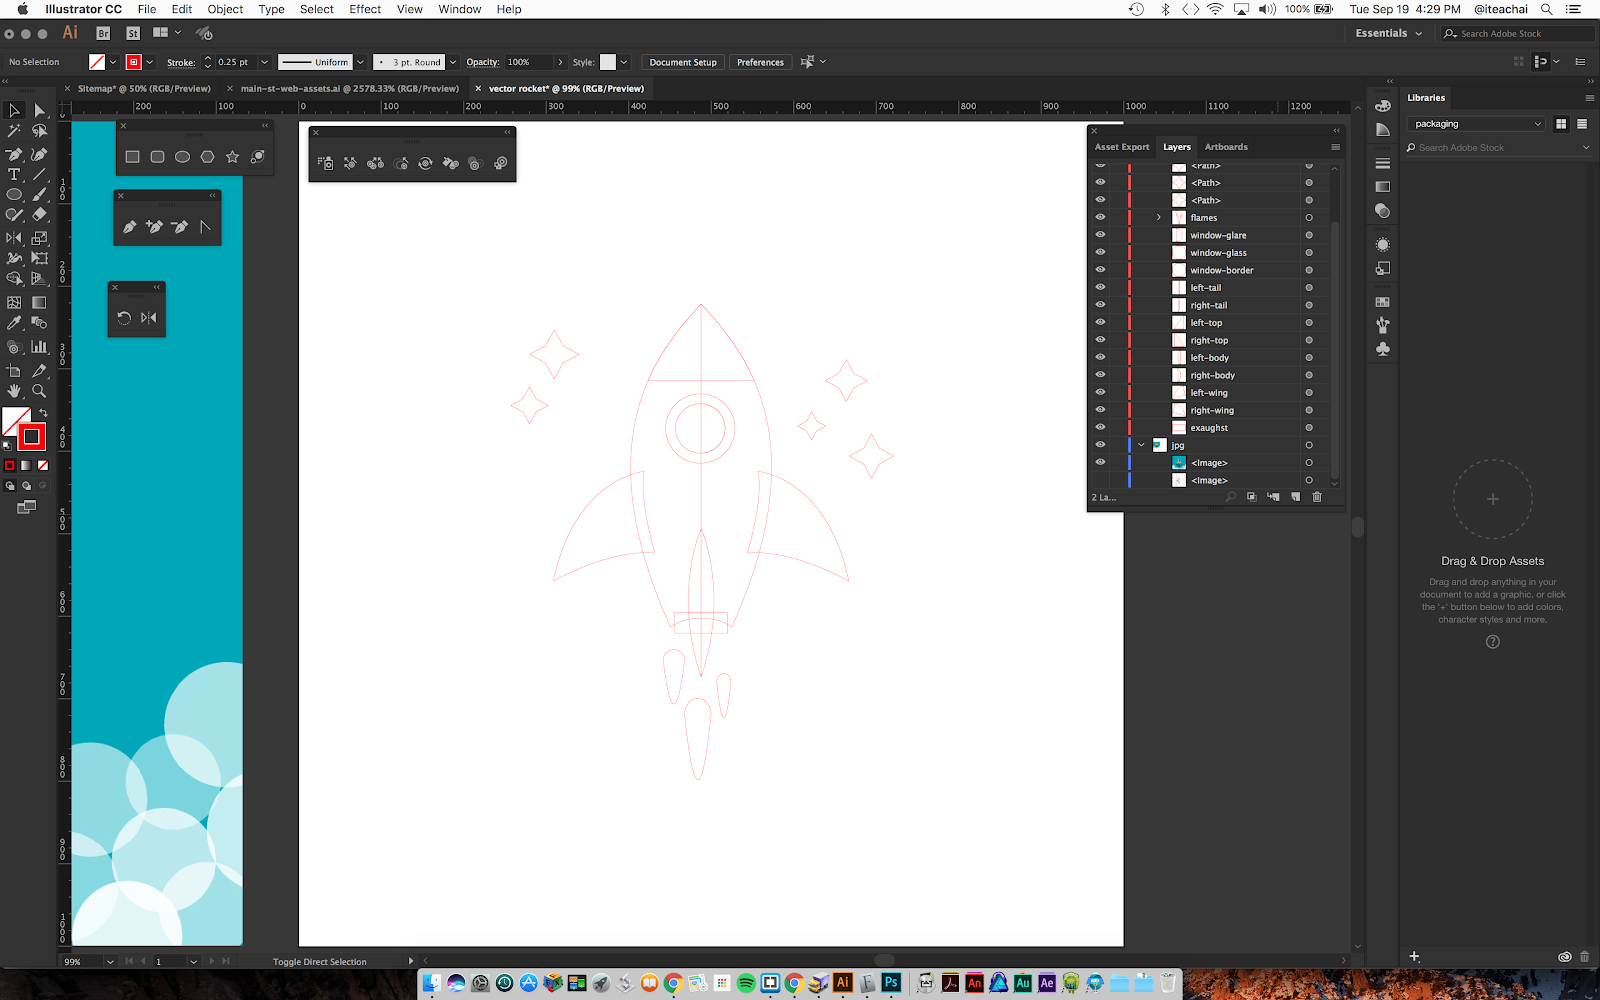
- Begin drawing basic shapes using Ai tools.
- If your graphic is symmetrical, draw one half and use Ai's reflect tools to mirror your image.
- Organize your paths and layers in the order which displays your graphic in visual sequence.
Step 5
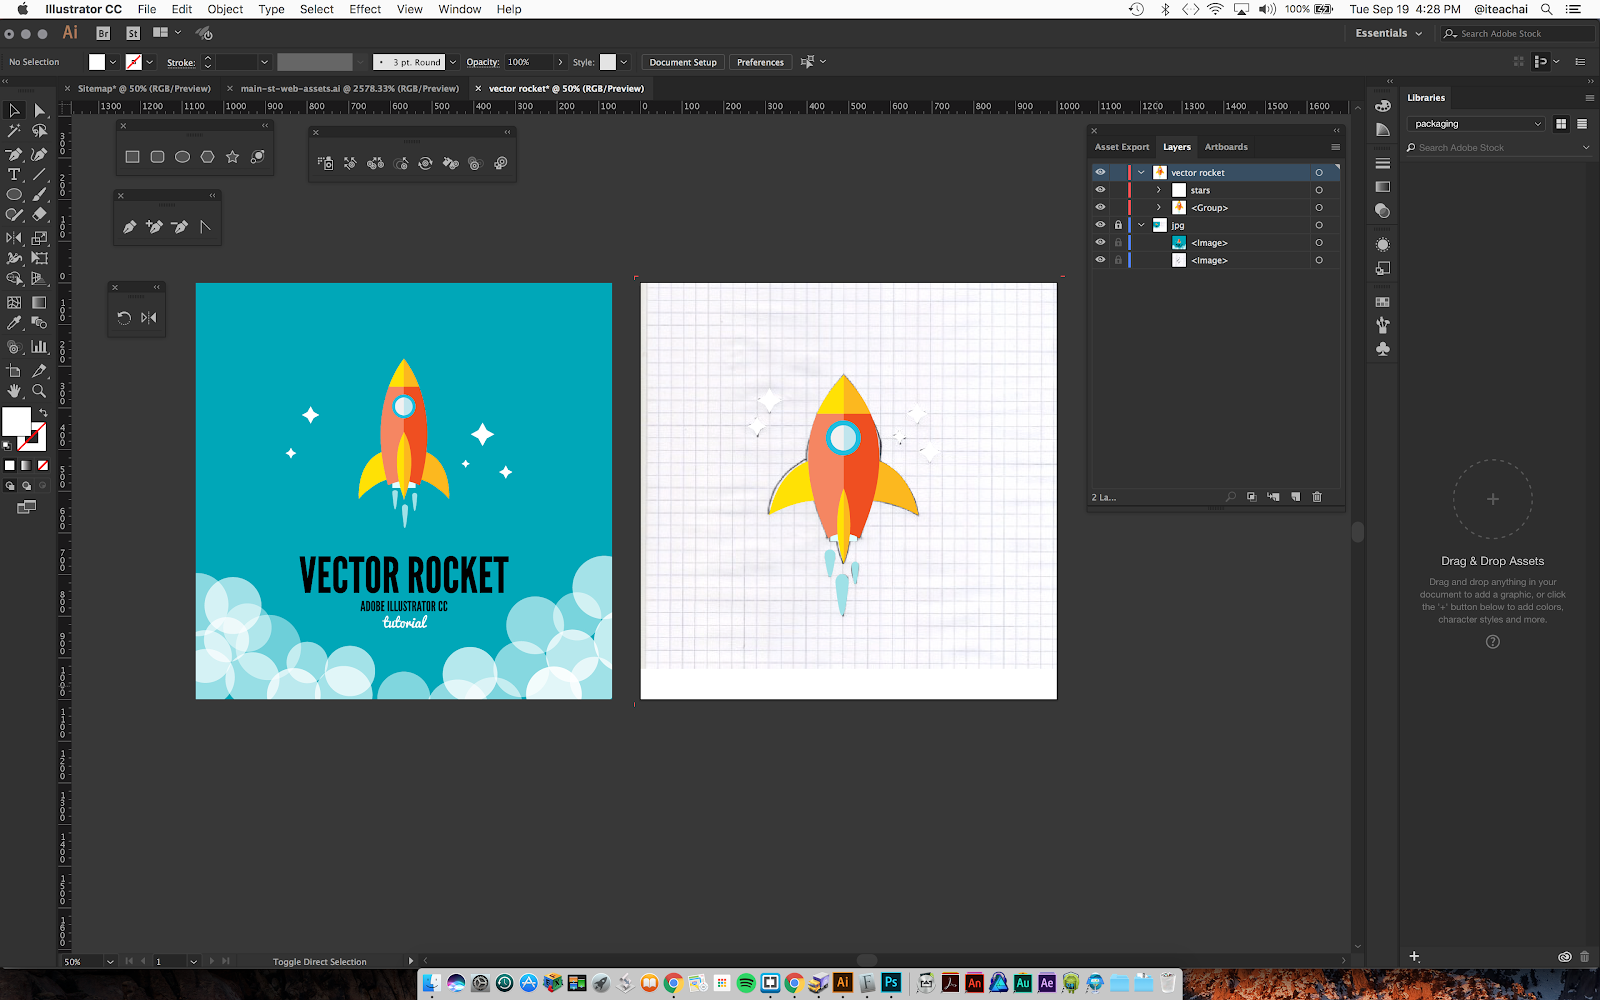
- Colour your graphic using a variety of Ai's colour tools.
- Use the eyedropper tool to sample colour.
- Fill shapes with the colour panel, swatches, and or colour picker.
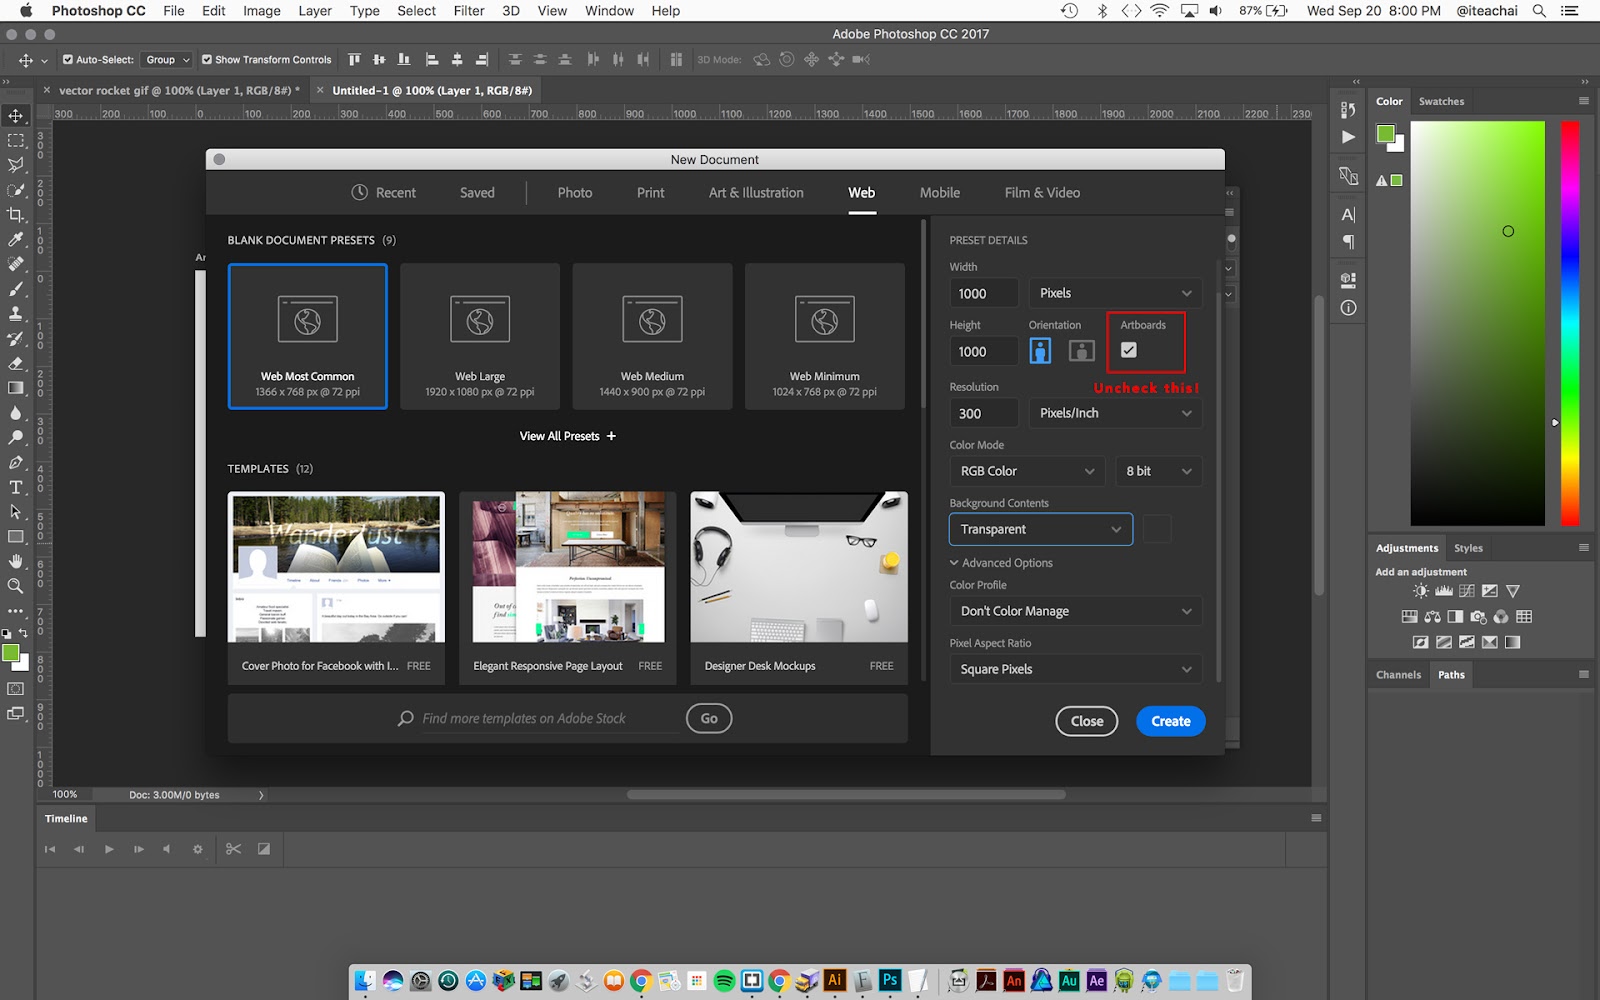
Step 6 (Photoshop)
- Create a new document using Ps:
- 1000px by 1000px
- RGB
- 300ppi
- Uncheck Artboards
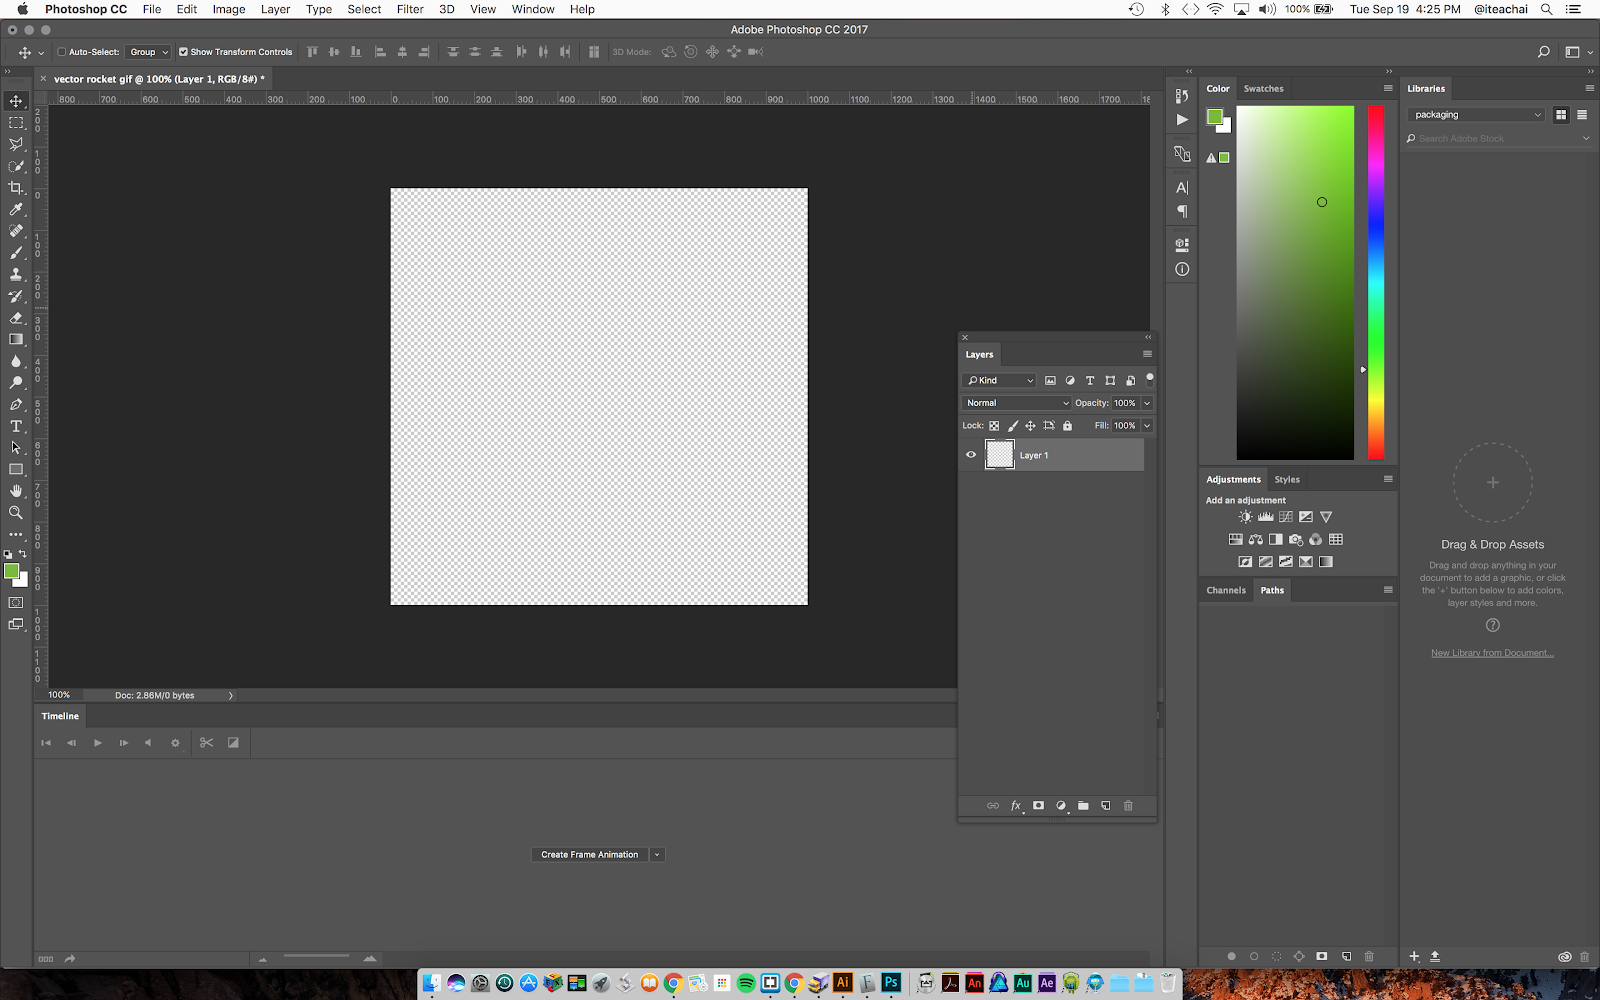
Step 7
- Open the Timeline panel from Ps menu. Window > Timeline.
Step 8
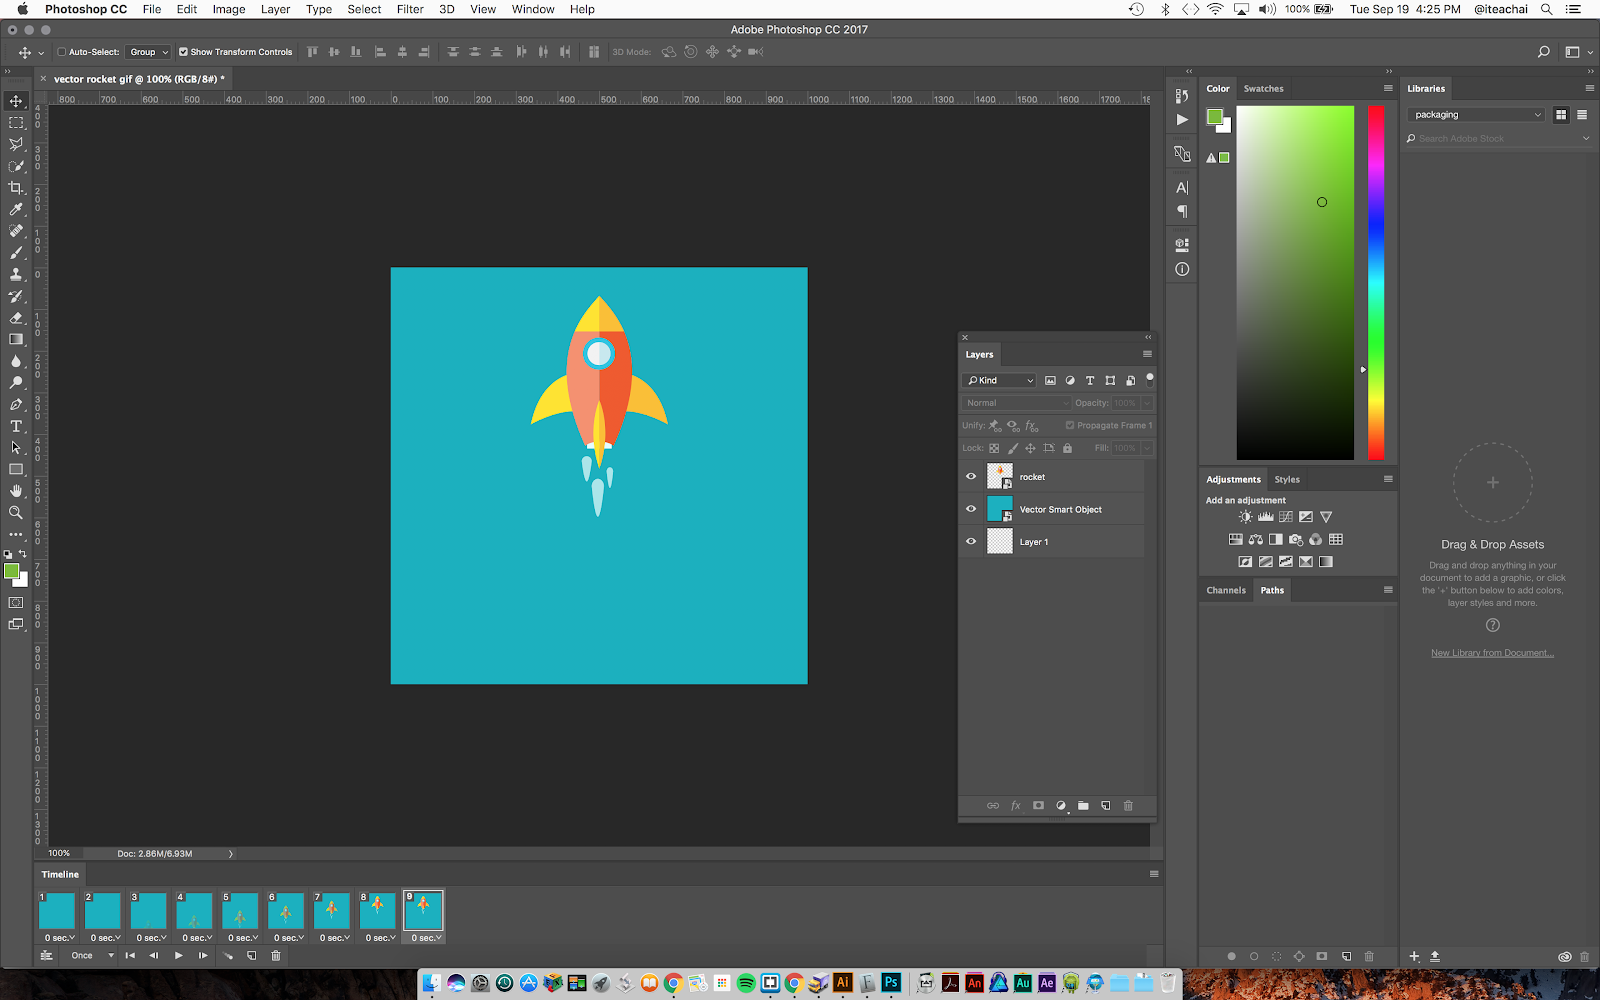
- Copy and paste your Ai artwork into Ps.
*Separate your artwork so that each piece can be animated according to your storyboard.
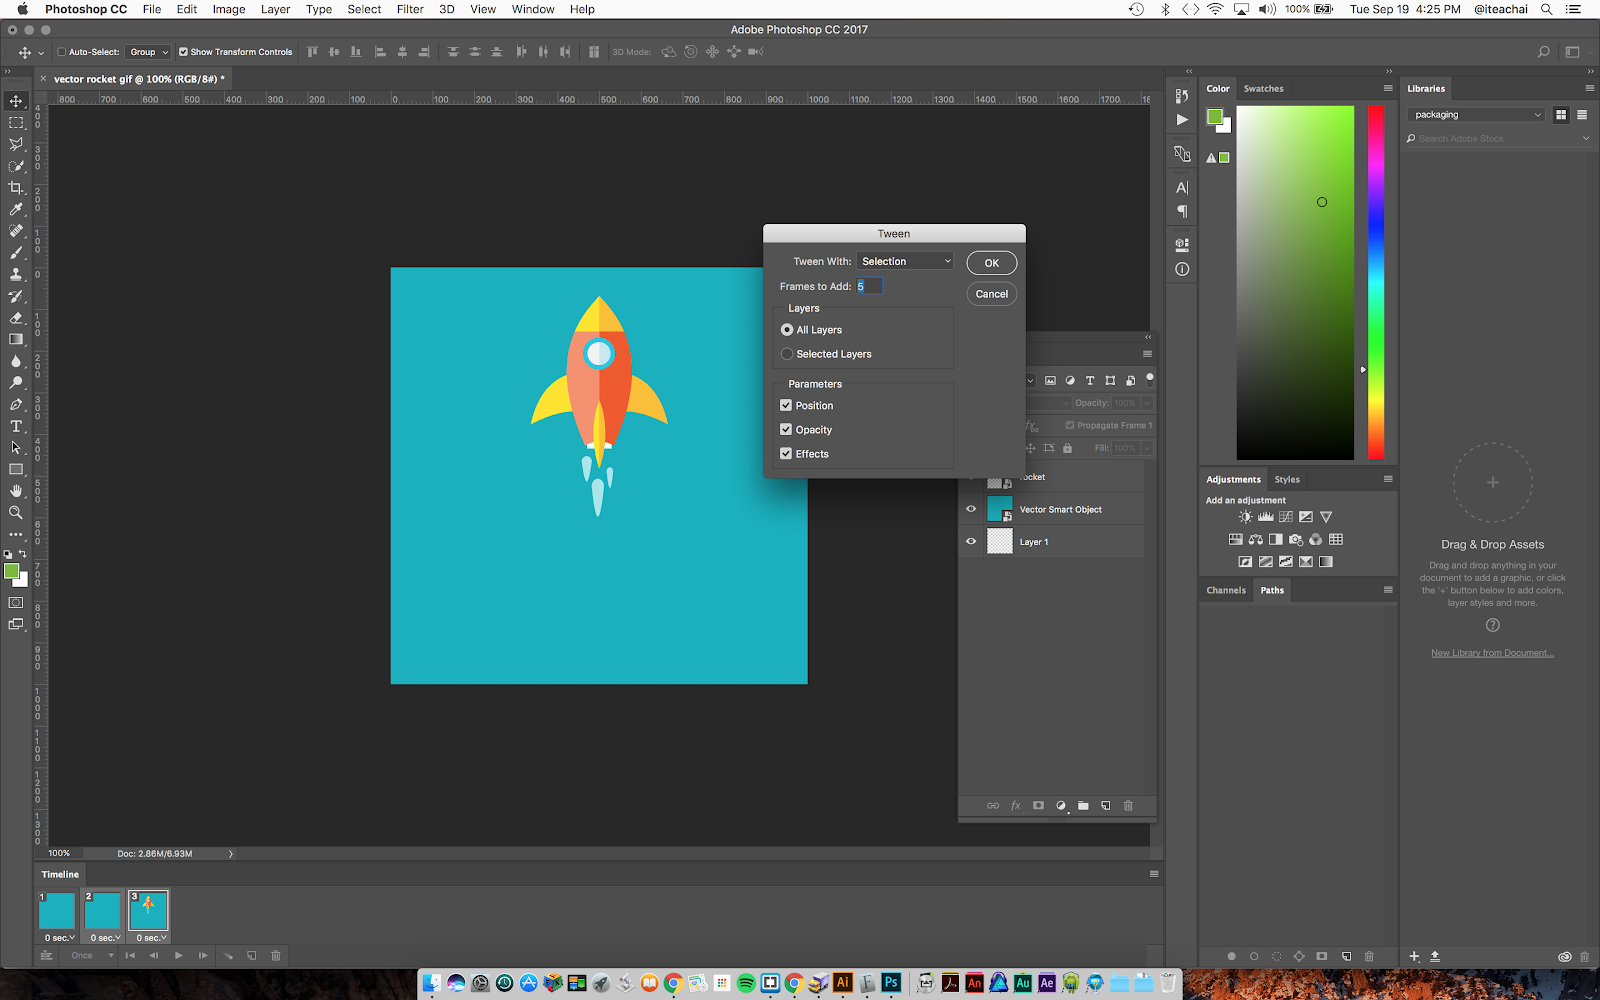
Step 9
- Create animation sequences by clicking on the sequence icon at the bottom of the Timeline.
- *You can create motion, opacity transitions/fade ins and outs, and effect animations.
- Use the delay and timing features if necessary in order to pause or control the speed of your animation
Step 10
- Save your GIF file by going to the File menu > Export > Save for Web (Legacy). Choose GIF and save your animated GIF file.
Examples
How To Create A Gif Illustrator
Source: https://mark-anthony.ca/vector-animation-tutorial-using-adobe-illustrator-photoshop/
Posted by: howardextouralke.blogspot.com
0 Response to "How To Create A Gif Illustrator"
Post a Comment